Simple Teen Makeup Tutorial
This tutorial is primarily aimed at a younger audience, but really anyone could wear it. I had many requests for a tutorial that was suitable for young girls just starting to wear makeup, so I came up with this simple look for a teen makeup tutorial. Thank you so much to Lyssa for being my model! Also, if you prefer videos I have another simple teen makeup tutorial on my YouTube channel, so make sure to check it out!

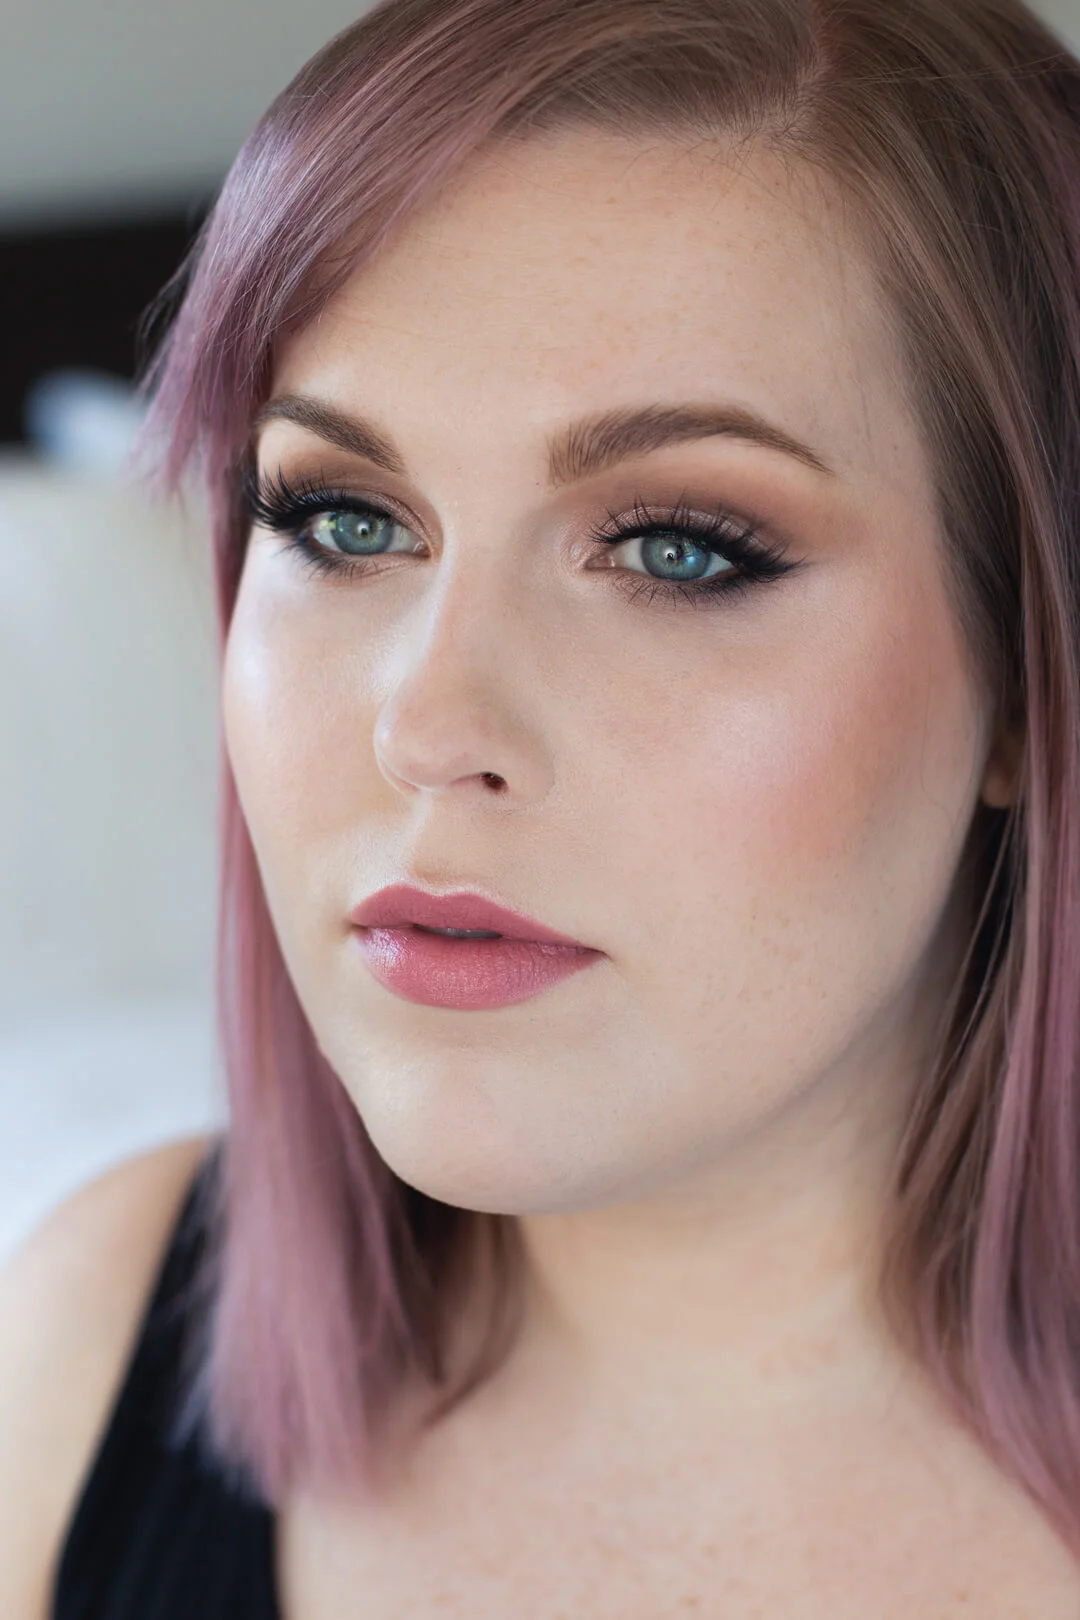
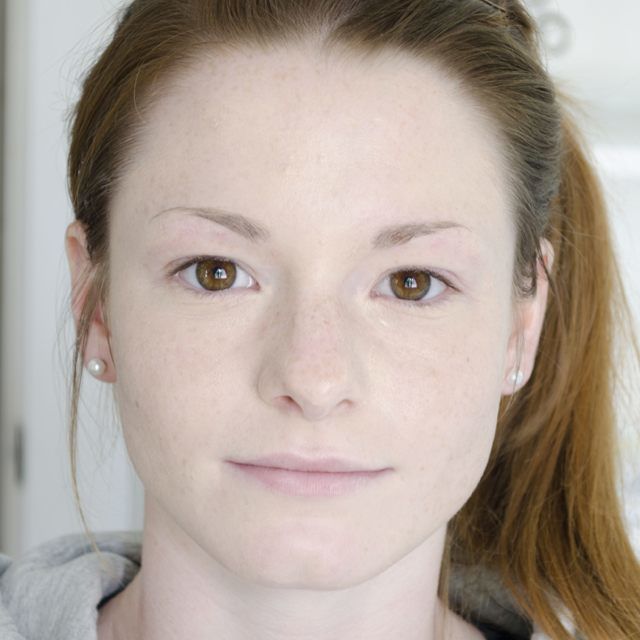
Here's the look we'll be creating!

To start, we've prepped the clean skin and applied Laura Mercier Primer.
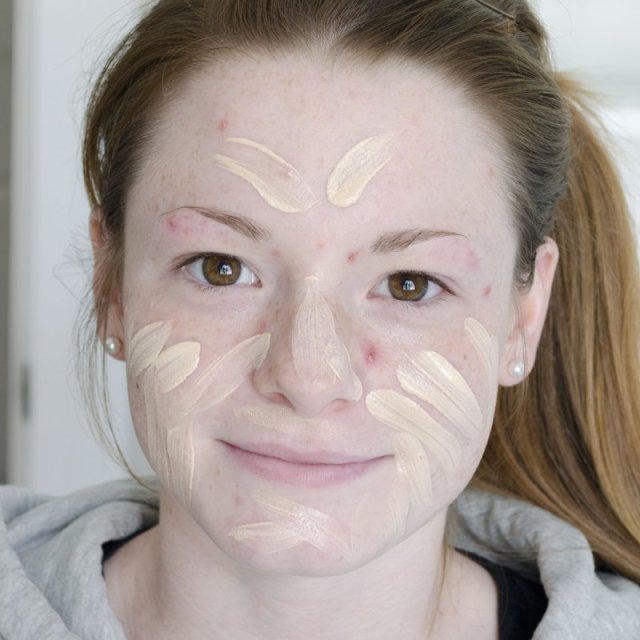
Use a light coverage foundation or a BB cream just to even out the skin tone. I am using Mac Face and Body in shade N1 on Lyssa. This step will even the skin tone a little bit. On clients who don't wear a lot of makeup, I prefer to go for a lighter base and then add more coverage only where needed.

Here I have smoothed out the foundation using my clean fingers. I find that Mac Face and Body applies best with fingers so I massage it into the skin and it leaves a nice finish. You can also build this foundation up if there are any problem areas.

Here we've just spot concealed. I have a video on this process coming soon, but I also go over it in my Base tutorial, the text version can be found here and the video here. Basically, we just added a bit of Mac Select Cover where extra coverage was needed to keep the skin looking like it doesn't have any makeup on it.

Now, if needed, add a light bit of powder. I only powdered the T-zone (forehead, inner portion of the cheeks and chin) lightly. If you have drier skin or like a more dewy finish you can skip this step.
Prime the eyes. I use the Lorac Behind the Scenes Primer.


TTake the green from NARS Earth Angel (shimmer, olive green) and pat it all over the lid. I used a Mac 242 for application.

Add the brown from the NARS Earth Angel Duo (satin, cool light brown) just above the crease to add a touch of depth.

Use a Mac 217 and blend it out. Also, I added a touch of NYX Retractable Eye Liner in Golden Olive halfway along the upper lash line. I want to keep this look soft and fresh so I went with a green instead of a black.

Add a touch of the Brown from the NARS Earth Angle Duo along the lower lash line. To lightly define the brow, I am using Makeup Forever Aqua Brow in 25, starting with a line from just before the front of the brow up to the arch.


Time to add a little bit of blush. I chose MAC Dessert Rose for a natural looking flush and used a Makeup and Hair Addiction brush to add a light wash of color to the apples of the cheeks & blending towards the temples.

Blend the blush out well since we want this look to be fresh and natural.


Now add a bit of mascara. I opted for brown since all the colors here are soft and since Lyssa has red hair. We also added just a touch of color to the lips using MAC Brave mixed with a lip balm. If you want some tips on applying click here.

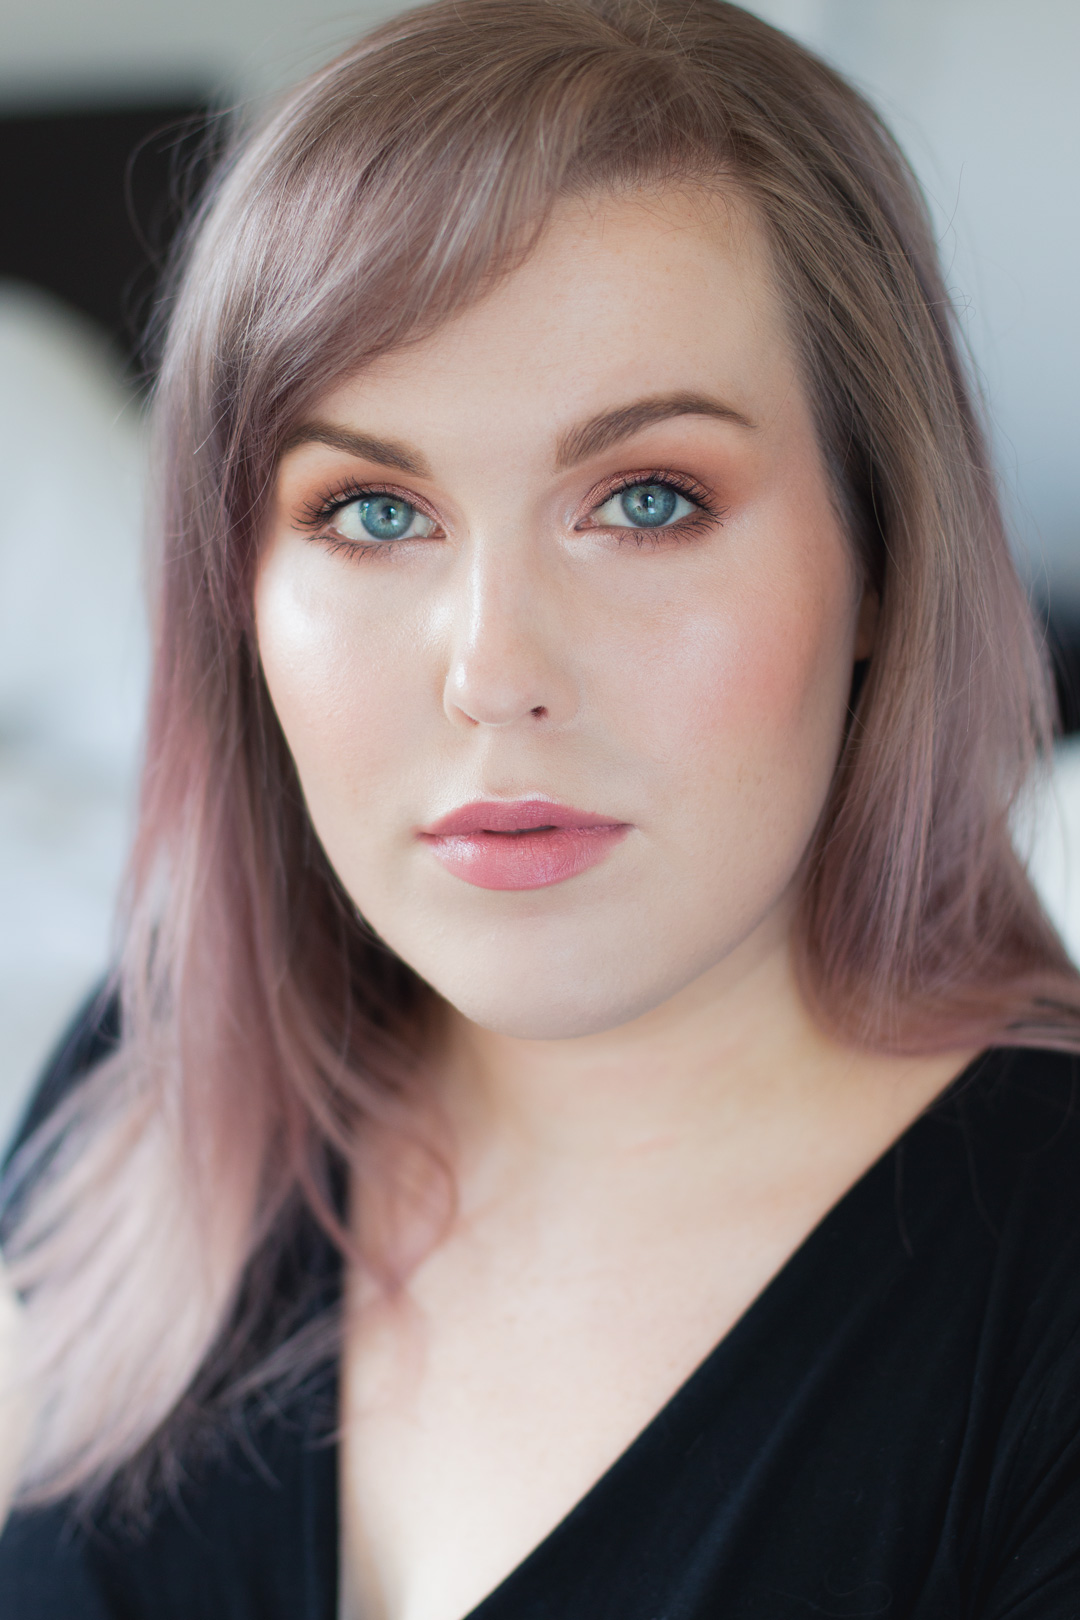
Here's the finished look! I hope you enjoyed the tutorial and if you did please share it with your friends. You can also look below to check out a more natural version of teen makeup that I did on my younger sister.
-Rebecca