Today we're going to learn about highlighting and contouring. This is a basic highlight and contouring with creams tutorial. In the future, I'll be doing more in-depth tutorials on specific areas such as how to contour just your nose and the like, but I figured we'd start with a general look at highlighting and contouring & you can always tweak it to fit your needs. Let's get started!
Let's be friends, follow me and connect!

Here's my video tutorial for a more dramatic contour
And a natural looking contour tutorial as well.
Why creams? Can I use powders?: Yup, you can use either or both. Today, we're talking about cream contour and highlighting, but powders are still a good option.
Why cream products?: Cream products work best to truly alter the shape of the face. They are perfect for contouring or highlighting to correct features, like how to make a nose appear smaller or thinner. Creams also look great in photos.
What do I use to contour?: Use any cream product (concealer, foundation, foundation stick, cream color, etc.) that is 1 to 2 shades dark than your skin tone, a matte, and on the neutral to cool side. (For more info on undertones click here.)
Why neutral or cool?: Contouring is made to mimic a shadow, so you don't want something too warm. (There are some exceptions, but those would be in a studio under certain lighting situations.) If you have warm to neutral under tones, a neutral contour will suit you. If you have neutral to cool undertones, go for something cooler--especially on pale skin, stick with something more ashy.
Why only matte for contour?: Contouring is to mimic shadow, so you don't want to catch the light with any shimmer or glitter.
What do I use to highlight?: Again, choose any cream product in a shade 1 to 2 shades lighter than your skin. I prefer highlights to be neutral or the same undertone as the skin. For example, if you have cool under tones, go for something that is lighter than your skin but still cool. With highlighting you can opt for matte, satin or shimmer, but I find matte are best for most of the face and add some shimmer on the cupids bow and cheekbones.
Why?: Highlighting & contouring helps define the face and add more dimension. However, don't feel like you always need to highlight and contour. Lately, it's become more popular for the general population, but if I'm not going to be photographed I'll probably skip it. I think highlighting and contouring looks great in photos & since I post a look to instagram everyday (@rebeccashoresmua) I usually wear some products to add more definition to my face, since I take my photos under studio lights.
When?: Do some contour & highlighting if you're going to be photographed. Whether it be family photos, a photo shoot, or a wedding, it's a great time to add some extra dimension to your face, especially if under a lot of light.
Let get started on where & how to apply.

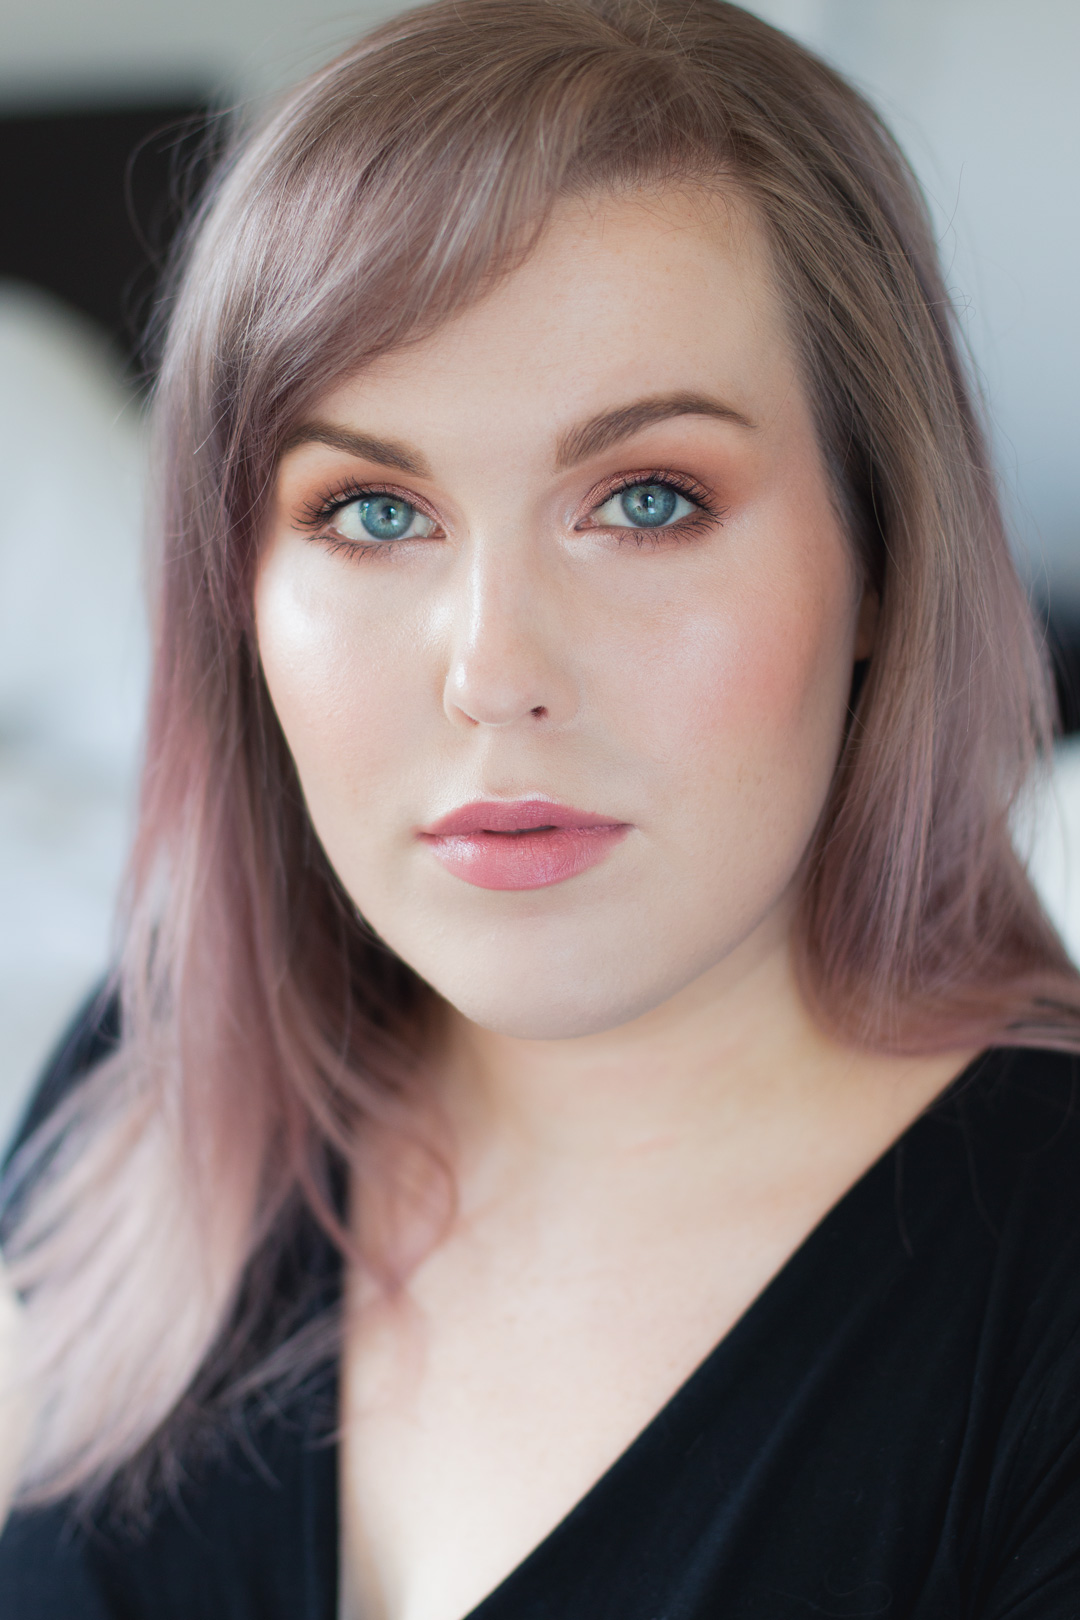
This is what we're starting with. I have just a light layer of foundation on. I like to use a lighter amount of foundation when I do cream contour and highlighting, since the products will add some coverage.

Here's the first contour mark we'll be making. I am using OCC Creme Color Concentrate in John Doe as my contour. I apply with a flat concealer brush. You want to find your cheek bone and then place the contour on the very edge of the bone. The reason for putting the contour on the very bottom edge and not the actual hollow of the cheek is that we want to lift the face & this will make the cheek bones look higher.

Now, apply some to the temples. We apply this here to add some definition to the eye area and make the forehead appear to recede.

This contour placement is also to make the forehead appear smaller. I have a big forehead, so I like to contour it, but again, customize this step to your face. For example, if you have a small forehead you can forego contouring it.

Here we're contouring the jaw, the placement hugs the jaw line., so it's right on the edge of the bone. I have a weaker jawline so I typically contour here, but again, customize this for your needs. If you have a strong jaw or a more square face you could skip this step.


Here, we're applying a touch of contour just under the bottom lip. This will give the appearance of a fuller lip.


This is a very basic contouring of the nose. Just apply it to the edges of the nose and make the line as straight as you can. This will add definition to the nose and make it look straighter. I have a thin nose already, so I do not contour to change the shape.


Now, we'll start to blend. I am using a Sephora Pro Airbrush Foundation 53 brush for this, but any small to mid-sized dense brush will do. Start blending the contour at the cheek bone. Always blend upwards, because we want to lift the face. Also, make sure to blend to your ear to make the shadow more convincing.


Now to blend the jawline. Blend along the jaw and also blend downwards, asyou don't want to have any harsh lines.


Blend along the forehead, blending back into the hair line and bring it slightly forward if you have a large forehead.

Here's what it looks like with just the forehead, cheek and jaw contour blended. This is what I typically do.

Front view


Switch to a smaller brush to blend the nose. I like using the Real Techniques Shader Brush for this. You want to blend this well, since a contour on the nose can be very obvious. I also like to blend it up towards to the brows to get more definition to that area. Take care to keep the lines straight.


Blend under your lip. I blend upwards along the bottom lip rather than just outwards. This will make your bottom lip look fuller. This isn't something I do on a regular basis, since my lips are already full.


Now we're on to highlighting. I am using OCC Concealer in R0. Use something one to two shades lighter than your skin. I am going to using a flat concealer brush for this, as well. Start by making a triangle starting under your eyes, down to the nose, then tapering up to the temples. This adds more focus the the center of the face and eyes.


Here's what it looks like from the side.


Add a touch of highlight to the forehead. Again, we are drawing attention to the high points of the face and drawing attention to the center of the face as well. I keep the highlight on my forehead small, but you an make it larger if you have a short forehead.


Add a line down the center of your nose. Make this at straight as you can.


Add a touch to the cupid's bow. This will make the lips look fuller. Even though I have full lips, I always highlight here.


Just a dab on the chin. I also have a lot of space on my chin, so I keep the highlighted area small, but you can make it larger if you want to give the illusion of more space.


This is a very optional step & personally not one that I do. You can highlight along your jaw to create the illusion of a stranger jaw line. Place the highlight right before the edge of the bone.


You can also highlight above the brow bone. Just add a small amount of highlight from the arch to the tail. You can highlight under the brow too, but I do that with eye shadow.


Start blending! I like to use a Beauty Blender sponge to blend. Try and keep the highlights just were you placed them.


Blend upwards a touch and out.


Again, keep this as straight as you can. I usually use my finger to blend here.


Lightly pat to blend the highlight on the cupids bow.


Blend the chin.


Blend the jaw highlight just to the edge of the jaw bone, but don't bring it under the jaw where the contour is.


Blend the brow highlight along the brow and upwards slightly.

Here's what it looks like all blended.

Here I've added a setting powder.

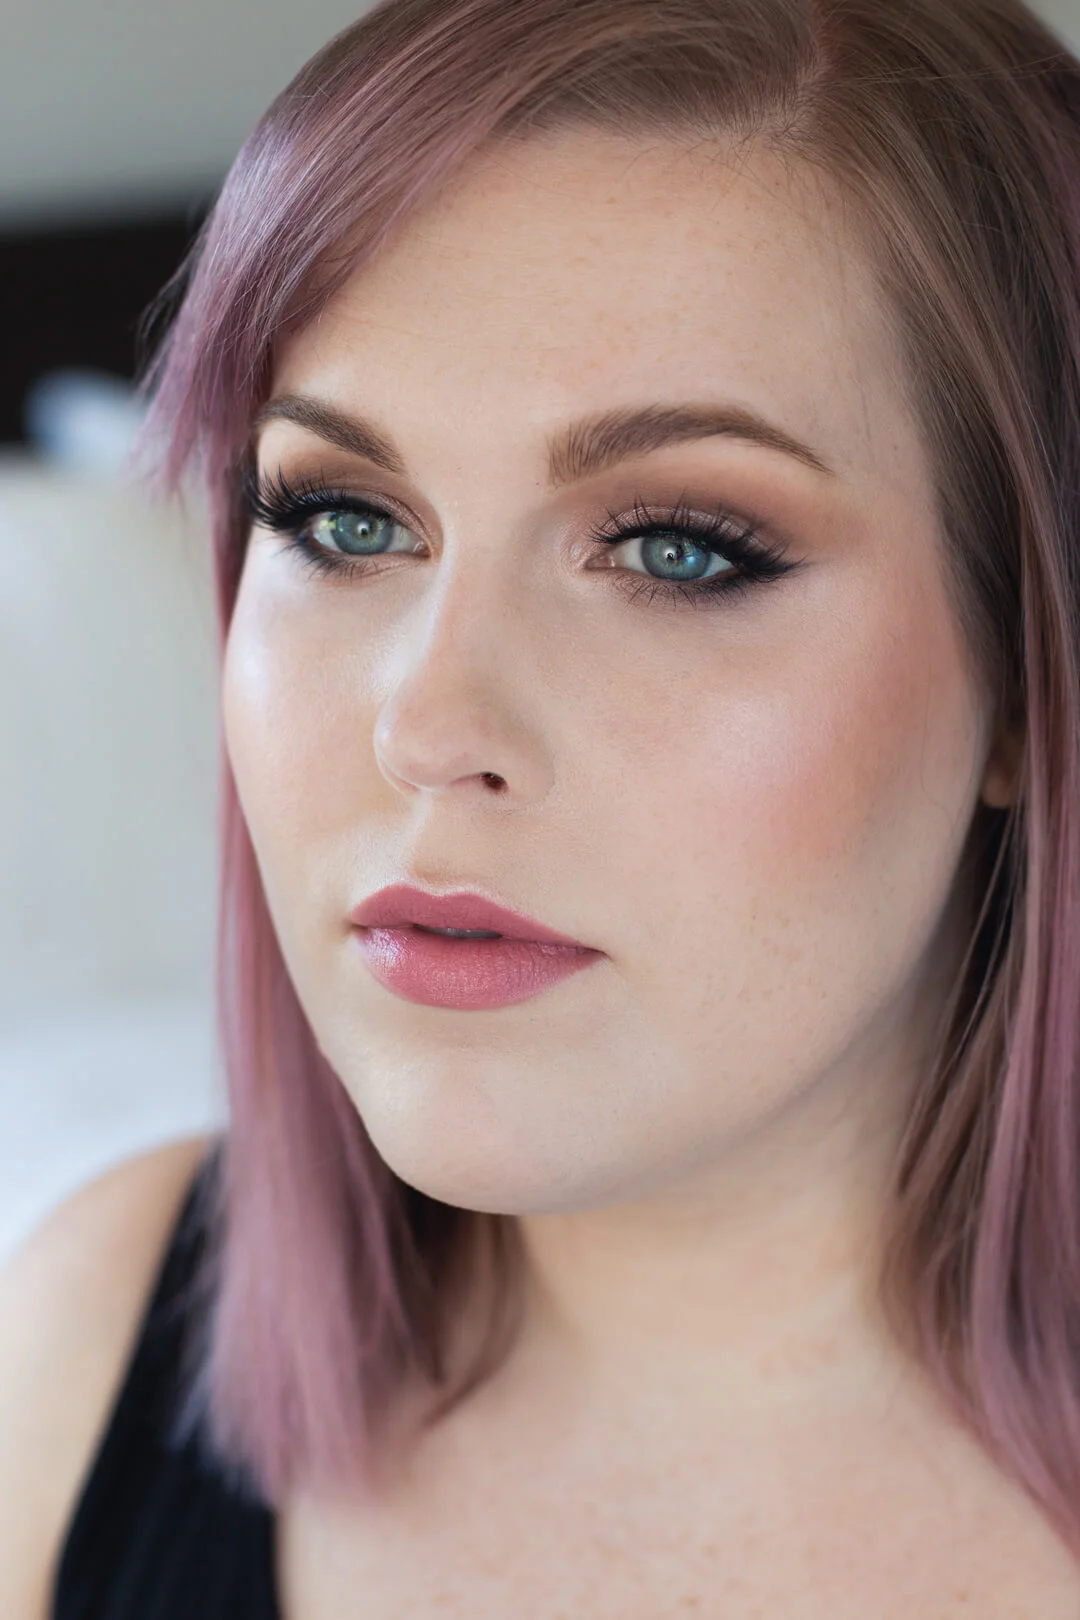
Here is my finished look! I haven't added any contouring or highlighting powders over what I did with cream, just added blush and a setting powder.
And you can watch my natural contour and highlighting with creams tutorial here.


As you can see, it give my face more dimension & it looks great in photos!