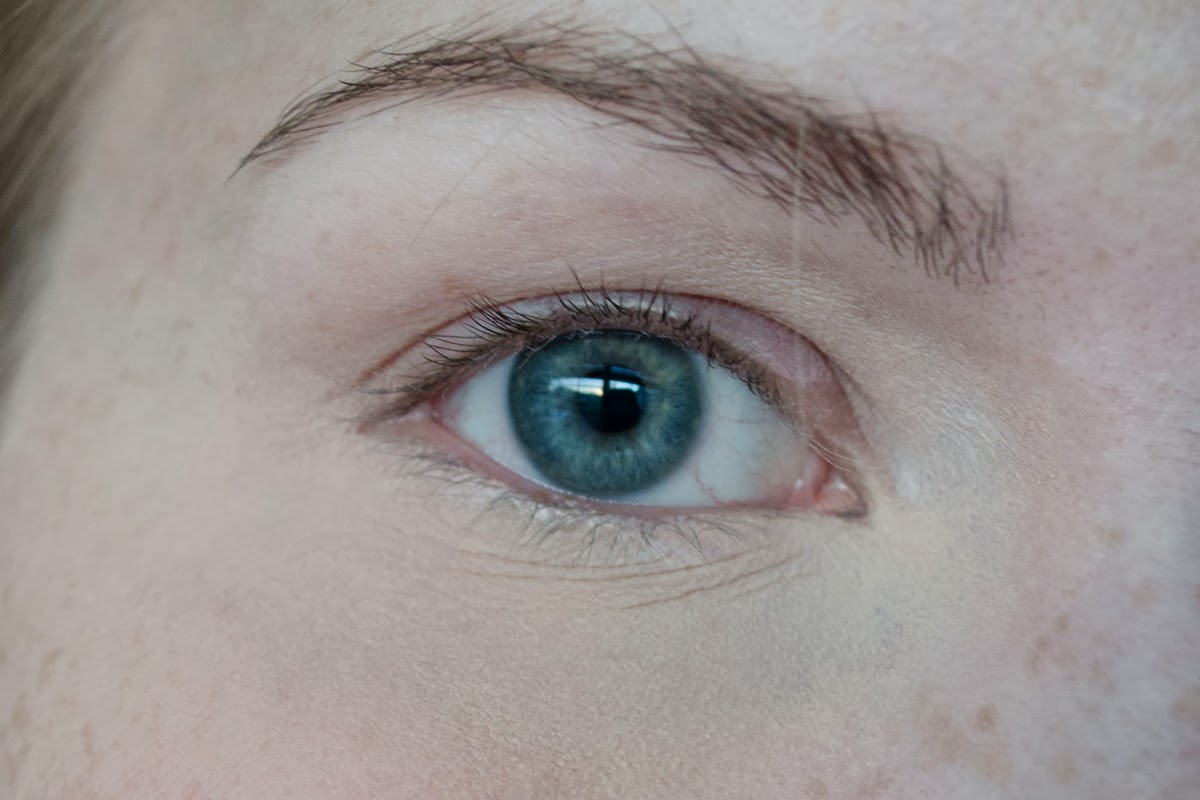
My bare eye. As you can see, I have quite dark circles that I need to cover up.
I'll be using: NARS Creamy concealer in Chantilly - This is an exact match to my skin You don't want something lighter since this will only draw attention to the area you are trying to conceal.
Sephora Smoothing and Brightening Concealer in light - I am using this as my corrector. It shows up very pink since my skin is very fair and neutral.
Ben Nye powder in cameo.
e.l.f. Mist & Set spray.
I use the Sephora concealer as a corrector, since I am so fair and since I have neutral undertones so it shows up very pink for me. I also use a Cinema Secrets Foundation in a peachy color, as well. You can use peach to pink to correct, depending on the color of your dark circles. If you have a deeper skin tone don't be afraid of getting bright oranges/pinks to correct. Once you layer a concealer over the top it'll look great. (You don't want a corrector that is light since it will turn out ashy.)
TIP: If the setting spray alone doesn't stop your concealer from creasing, I have a tip! After applying the corrector/concealer each time, take a 1-ply tissue (tear one apart if needed) and gently press against where you applied it to blot. Then follow with setting spray. This really helps if you can't seem to keep it from creasing or if you've accidentally applied too much at once. Also, use a powder puff (I actually use those round foundation sponges) to press and roll the powder on. You really need to set the concealer to prevent creasing.
.

This is a Sephora concealer brush. I will be using this to apply corrector, concealer and setting spray.
This is a Real Techniques crease brush, which I use for blending.
I will be using e.l.f. Mist & Set as my setting spray since it has a sticky texture, unlike some setting sprays that leave more of a film.
Bare eye. I swear do I sleep!
Here I've primed my face, bringing my primer under my eyes as well. I have also put my foundation on.
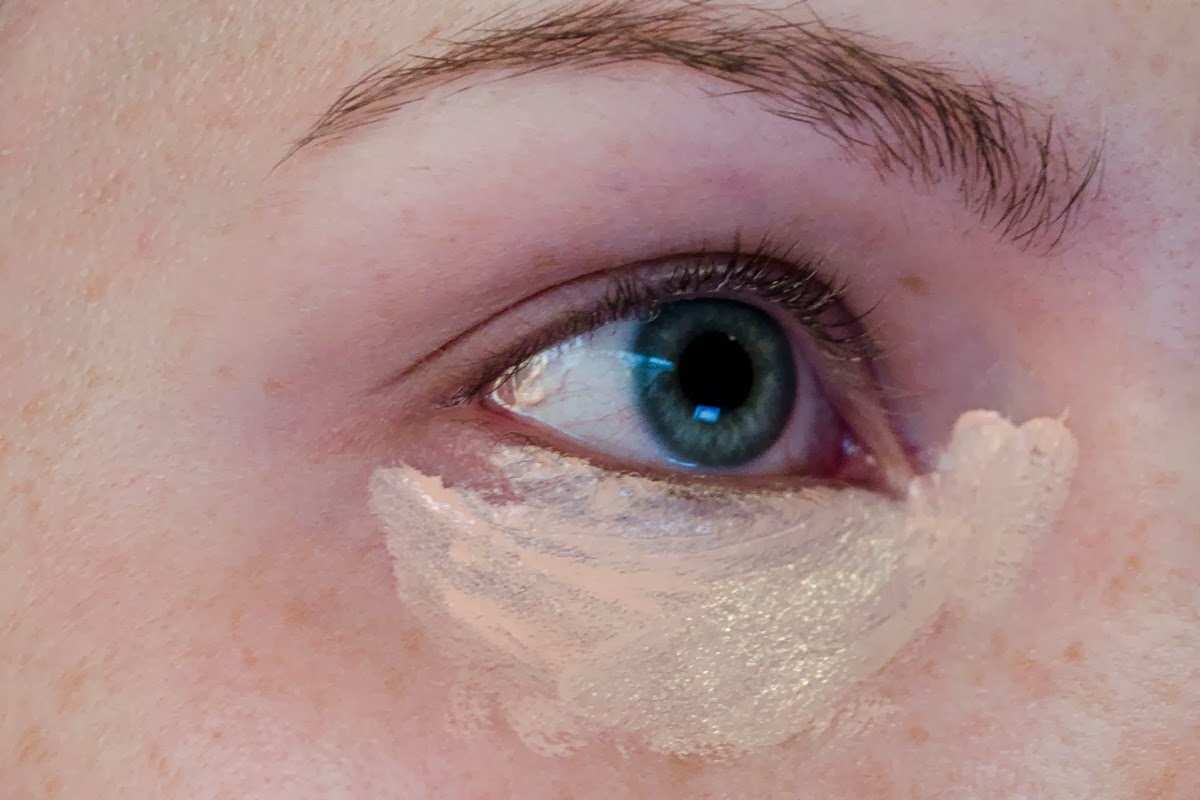
Put the corrector on first. I put on a THIN layer. Apply it only to the dark areas under your eyes for best results.
Blend with your blending brush.
TIP! This is what I do if I am having issue with creasing. Spray your brush with a setting spray. I like using e.l.f.'s Mist & Set best. Then pat on the setting spray over the corrector.
Add a THIN layer of concealer. I add it to the darkest area, then blend the rest out over the not so dark area.
Blend it out.
Another layer of setting spray & another layer of concealer.
Blend it out.
Add powder.
I use a foundation sponge or powder puff and really press the powder into the skin. I find that if you just dust the powder you can move the product and/or still get creasing since, the powder didn't get into fine lines.
Use a powder brush to brush away the excess powder. I also spray my face with a setting spray once I finish to make the powdery look go away.
Makes a pretty big difference, right?
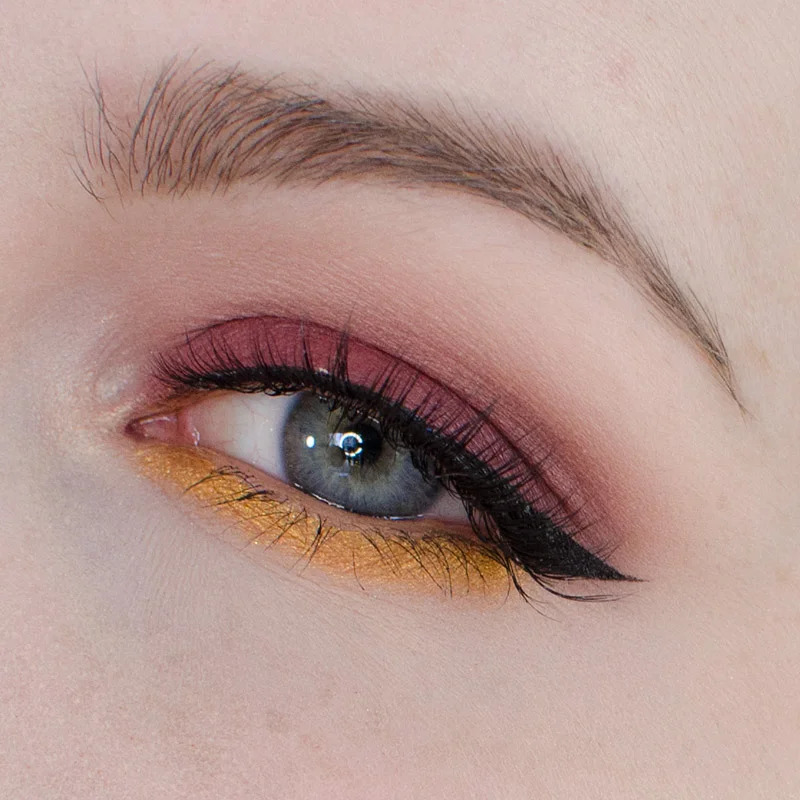
Here's a full face using these products and techniques.
To pick the correct corrector:
Concealers are your skin color, so you need to cancel out the blue/purple/green with a corrector first to really get your dark circles to look non-existent. You want to find a corrector color that's complimentary to the color (opposite color on the color wheel) your circles are and use that color corrector to neutralize the unwanted color. There are lots of correctors available, mostly in the peach to pink family.
If you have a deeper skin tone, follow the techniques but a pale pink corrector isn't going to be your perfect corrector. I use these same techniques for covering dark circles when I work on clients with deeper skin tones. However, you need to use brighter colors to correct, rather than a pale pink or peach. A more true pink or orange will neutralize the darkness better on deeper skin tones. It may look a little weird at first but once you apply your concealer over the top, it'll look great.
That's it for today, guys! Please let me know if there are any other tutorials you would like to see. Also, if you'd like to see more of my work or what I've been up to follow me on Instagram @rebeccashoresmua and like my Facebook page <a href="https://www.facebook.com/RebeccaShoresMUA">facebook.com/rebeccashoresmua</a>>